
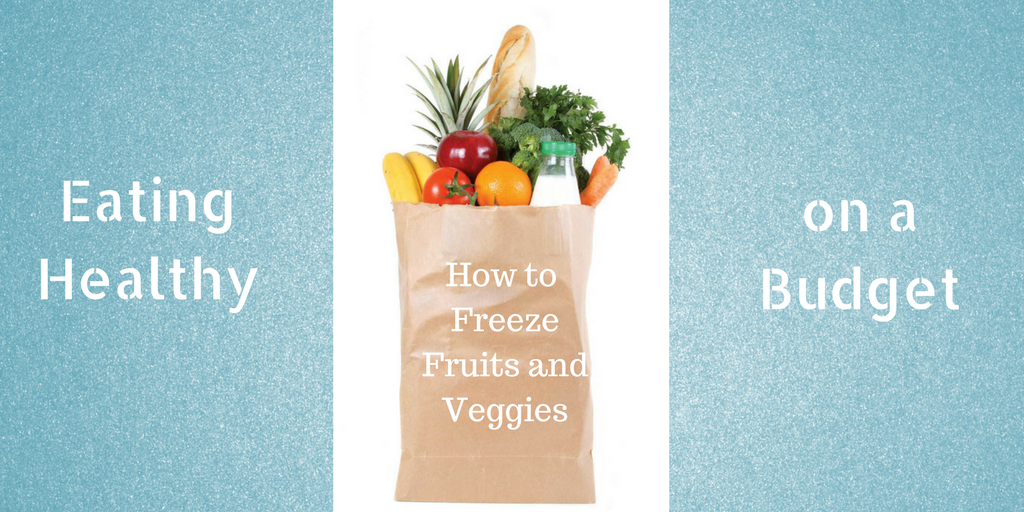
Healthy Eating On a Budget #3: How to Freeze Fruits and Veggies
So far in this series, we’ve learned how to shop to save money and how to store our produce bounty to make it last longer. Today, we’re going to delve into freezing your fruits and vegetables. It’s not as simple as just throwing them in a plastic bag and calling it a day, but it is a fairly easy process. Let’s get started!
Step 1: Gather your materials
I’m a self-proclaimed organization freak. Clutter and disarray just make me feel anxious. Anyone else feel me on this? No matter what I’m doing, I approach it with an organized plan—even if it’s just a little outline floating around in my mind’s eye.
The first thing you want to do is get all the materials you’ll need ready. These are the essentials:
- Glass jars/containers
- Plastic containers
- Freezer bags (good quality ones)
- Heavy duty foil
- Sharpie marker
Step 2: Wash your fruits and veggies
Wash and pat dry your produce. The dryer they are upon freezing, the less ice will form which translates to longer freshness in the freezer!
Step 3: Blanch your vegetables
Blanching is a fancy term for giving your veggies a quick dip in boiling water followed by an ice bath to stop the cooking process. This helps to kill any lingering bacteria on them and prevents them from getting mushy once thawed out. Mushy vegetables are just not appetizing! NOTE: corn, peas, tomatoes, and squash do not require blanching.
Step 4: Slice or chop your produce
This step is not necessary for all produce. Berries of all kinds, tomatoes, corn, and asparagus for example, do quite well frozen whole. Other produce (squash, onions, peppers, carrots, broccoli, cauliflower, mangos, peaches, nectarines, apples, pineapple, etc.) you’ll want to chop into smaller chunks.
Step 5: Lemon water bath
For produce that turns brown once cut and exposed to air, you’ll want to give them a dip in a water lemon bath (1 tablespoon of fresh lemon juice added to 4 cups of water). This will prevent them from turning that unsightly brown color. The ones I typically do this for are apples, peaches, nectarines, and peeled avocados. You can do this for bananas, too, but I use frozen bananas for smoothies so it doesn’t bother me that they’re brown. (A note on avocados: you can freeze them whole and unpeeled, too).
Step 6: Pack produce flat (and in a single layer for larger items)
When using the freezer bags for chopped fruit and veggies, pack them flat with your larger contents in a single layer. This will save room in your freezer because you can stack your baggies, plus you can easily grab just a few pieces from the bag without having to thaw out the whole thing. It’s little things like this that will save you a ton of time in the kitchen.
Step 7: Remove air from the bag
Using a straw, suck out as much air as you can from the bag as you seal it. Less air = lasting freshness
Step 8: Label your bags/containers
Do not trust your memory! Believe me, I’ve tried this method and it does not work. Always label your freezer bag with the contents and the date it was frozen. If you’re using plastic containers instead of freezer bags, make sure to wrap the container in heavy duty foil to help keep air from seeping in and then write directly on the foil the contents and the date it was packaged.
Notes:
- Enjoy your fruit partially thawed as they can get mushy once completely thawed. You also can add them in their frozen state to your smoothies.
- Frozen veggies can be tossed right into soups, stews, or chili. No need to thaw them out. Growing up, my mom always had baggies of chopped carrots, onions, and bell peppers in the freezer ready to be used—now I get why!
I hope you found this little crash course on freezing produce helpful! I am confident that it will help you FUEL UP for a FIT LIFE once you start implementing it!